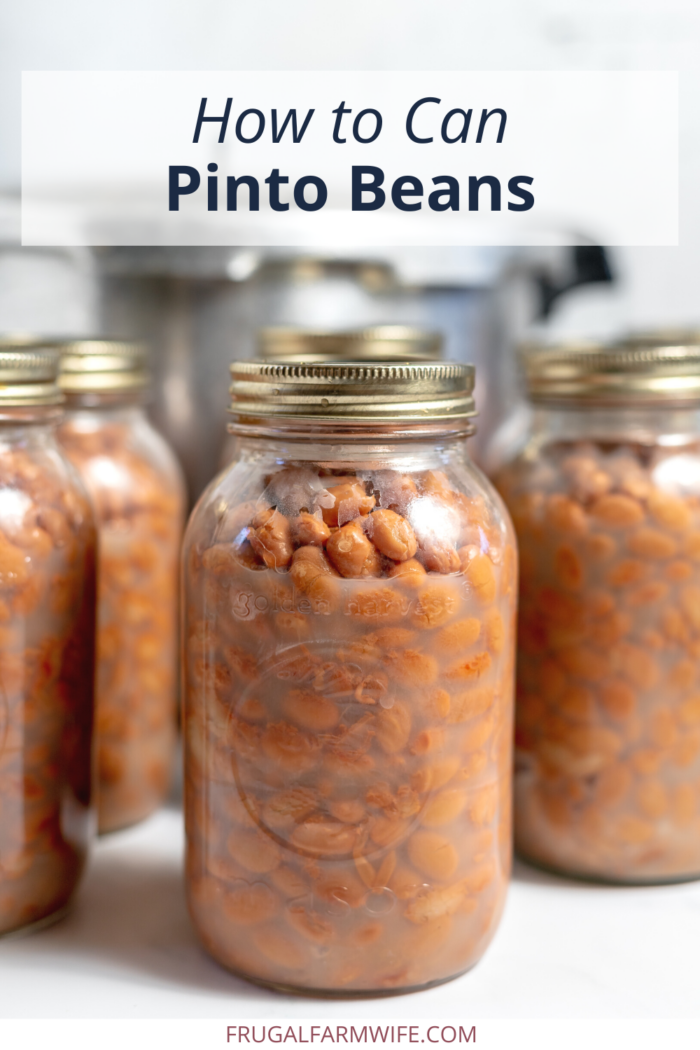
Canning Pinto Beans
Winter is such a great time to fill your pantry shelves with convenient home-canned food, and this guide for canning pinto beans will help you do exactly that!
You might wonder why can pinto beans, when they keep so well dried. Well… it’s all about convenience. If you grow your own beans, we my family does, you will definitely find that simplest way to preserve a large enough quantity to last you through the entire year will be to dry them.
However, we all have those days when we need something fast. Or at least, I know I do. And it’s nice to be able to do that without sacrificing quality.
It’s also nice to have filling food on your shelves for those times, however rare they may be, when the power goes out, and you need something that doesn’t take much effort to cook. These beans, as well as so many other home-canned goods like canned vegetable soup make that so easy.
Why can your own beans
When you can easily buy canned beans already, why do it yourself? As mentioned above, quality is a big reason.
Even if you’re not growing your own beans, you can buy dried pinto, or other, beans in bulk. They’re inexpensive, and even better you get to control the ingredients in your jars. No worries about potential additive, or residue from a metal can.
That really sums it up for me:
Cost and quality control.
Ingredients needed for Canning Pinto Beans
For the beans themselves, you will only need:
- Dry Beans
- Salt
- Water
And by the way, this tutorial doesn’t only apply to pinto beans – you can use it for canning kidney beans, navy beans, black beans, and almost any other beans, as well as southern peas such as purple hulls or black eyed peas.
Those three ingredients is all you need, but they aren’t the only ones you can use. Season your beans how you like them. For instance, garlic, pepper, onion, cumin, paprika, or chili powder are all great flavor enhancers!
You will also need a pressure canner
The safest way to can beans is through pressure canning.
I have a simple Presto pressure caner that is my favorite of all the ones I’ve had or tried. It’s just very easy to set up and use. Instead of a dial gauge , it has a weighted gauge so that I can hear whether it’s holding proper pressure or not. The main drawback of this particular canner is that is an aluminum kettle. That makes it more affordable, but maybe not quite as ideal as a stainless steal canner.
Canning Jars
I’m an equal opportunity jar user and buyer. I don’t have a favorite brand of jars. Maybe I should. Maybe I use haven’t paid enough attention to the ins and outs of jars, but I use whatever I find on sale (and this reuse and reuse them). When I was a kid and mayonnaise was sold in glass jars, we even used to use those mayonnaise jars for water bath canning and pickle making (they were a little thinner than canning jars, so we typically didn’t pressure can with them).
All that to say, you will need jars. Whether they’re Ball, Kerr, Golden Harvest, or bulk-bought is up to you.
I like to use small mouth jars, as I feel like the seal is more dependable long-term. A wide mouth just has a lot more real estate to deal with.
Canning Lids
When you buy jars they usually come with a set of lids, which is nice! But after that first use, you’ll need new lids for the most part.
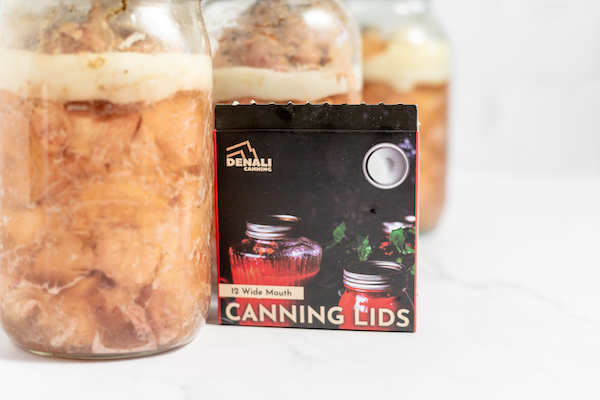
I usually order my new lids from Denali Canning. They have a 100% seal guarantee, and sure enough, I have yet to have one fail on me.
Canning funnels, jar lifters, etc.
I’ll be honest, I don’t get into a lot of extra canning paraphernalia. It all ends up being a lot of clutter. No magnets or specialized equipment for me, except for a canning funnel. I do find that one useful in order to keep my jar rims clean.
How to can pinto beans
Canning pinto beans is easy, but you’ve probably seen a couple of different methods for doing it, so let me explain mine.
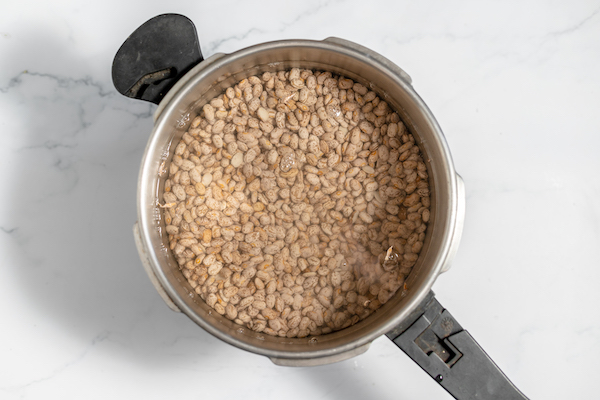
First, I soak the beans before I can them.
There are two main reasons:
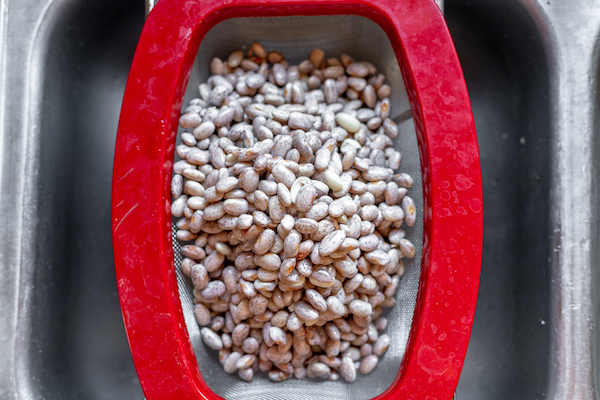
First and foremost, soaking and rinsing is a huge part of de-gassing beans. I wrote a detailed guide to de-gassing beans in your instant pot here, and it’s pretty much the same with canning.
Soaking beans, and rinsing them vigorously has been show to reduce the amount of raffinose and stachyose, which are two types of oligosaccharides that cause gas.
This is the main reason that while popping some dried beans in a jar, covering it with water, and going straight to the canner looks easy, I’d rather take the time to soak them overnight, and rinse them well before I can them.
The other reason is just a safeguard against over filling jars.
While it’s not too much of a risk, as the beans will only expand to the amount of water that is in the jar, making sure they’re at full size before canning them does help make sure they’re well cooked.
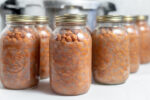
Once you move past soaking and rinsing, you’ll fill your jars, leaving about 1 and a half of headspace.
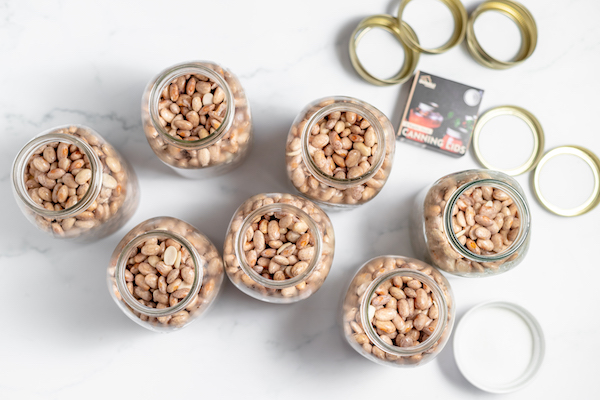
Top them off with a teaspoon of salt per quart – or half a teaspoon per pint jar.
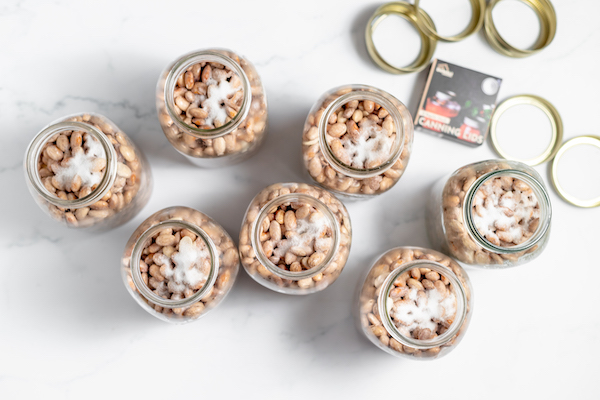
Then fill with fresh water, leaving about half an inch of headspace.
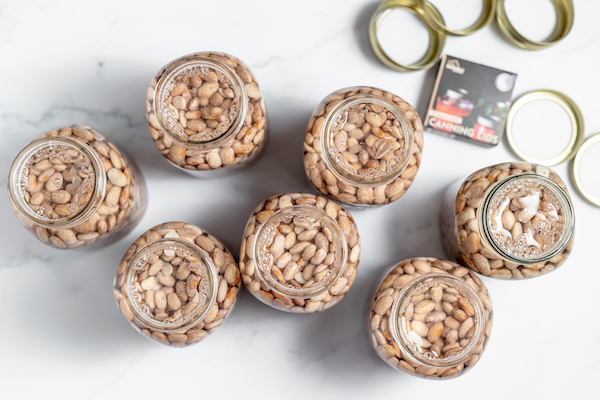
After your jars are filled, make sure to wipe the rims clean, and screw down your lids and bands.
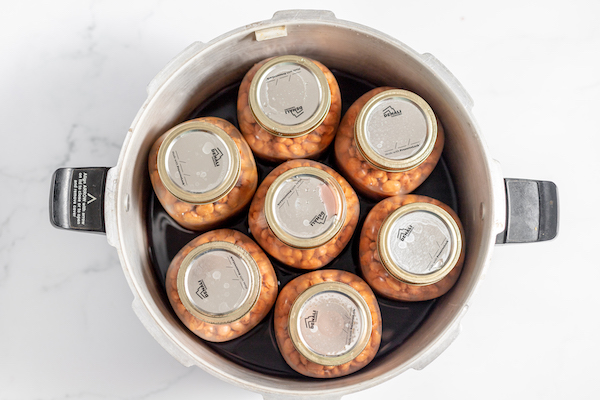
Prepare your canner
If you have a 16 quart canning kettle, this probably means adding 2 quarts of cool water.
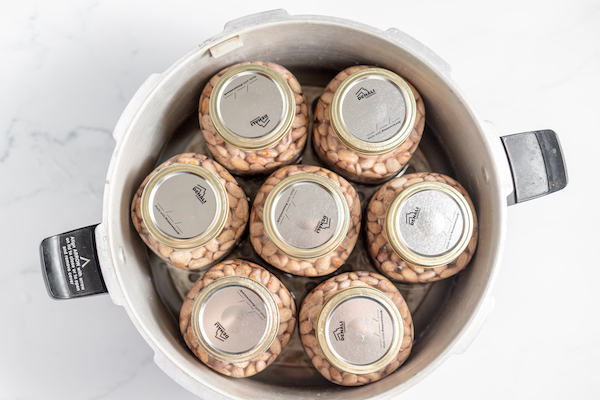
Insert the canning rack that seperates the jars from the bottom of the kettle, and add your jars of beans, placing them in such a way that they don’t touch each other.
Again, in a 16 quart kettle, you should be able to fit seven jars.
Fix lid on kettle, and heat over medium to high heat until steam begins to vent from the valve. Let steam escape for ten minute, then fix the pressure regulator or weighted gauge.
Bring to ten pounds pressure, and process quarts for 90 minutes, and pints for 75.
This, by the way, is a process called cold packing.
I suppose this could be considered “rebel canning” since the Ball canning guide recommends boiling the beans for 30 minutes before transferring to canning jars, but I don’t consider it true rebel canning.
As long as your beans have been soaked and rinsed well, I don’t see a difference in gassiness using that method, and I don’t believe hot packing in this case makes a difference to the canning time.
You can absolutely take that extra step if it makes you feel more comfortable though.
When the canner is done processing, remove it from heat, and let the pressure come down naturally.
After the pressure is completely released, you may open the canner, and move jars to a counter top to finish cooling. Be careful during this process, to protect your jars from any sort of draft that could cause the hot jar to crack, and essentially explode all over you.
I like to line my counter top with a towel, and then use another towel to grab and sort of cover the jars as I lift it. After they’re all out, I cover the whole row of jars with another towel to protect them from any sudden temperature change and broken jars.
My mom once had a jar burst all over her, and since then, my motto is, you can’t be too careful.
After 24 hours, you can remove the bands, and clean off the jars, which may have mineral residue from hard water, or gunk from boiled over beans on them, and store the jars out of direct light.
These beans are great for making refried beans, or adding to soups such as homemade peasant soup – or even chili (yes, we’re “those” people who like beans in our chili!)
More canning recipes to try:
Canning Pinto Beans
Ingredients
- Dried pinto beans (10-12 oz per quart to can)
- Salt (1 teaspoon per quart to can)
- Water
Equipment needed:
- Pressure canner
- Canning jars (pint or quart)
- Canning lids
- Canning funnel
Instructions
- Place dried beans in a large bowl or pot, and cover with water
- Let soak overnight or for up to 24 hours at room tempurature
- Drain beans, and rinse well, using hands to “massage” beans and really work to get release the extra starches on the surface of the beans. This helps to degass them
- Ladle beans into canning jars, leaving about one and a half inches of headspace
- Spoon salt into each jar – one half teaspoon for pints, or one whole teaspoon for quarts
- Fill jars with water to within an inch of the rim
- Screw down bands and lids
- Place jars in prepared canner (see instructions for your individual canner)
- Fix the lid on canner and heat over medium-to-high heat until steam begins to escape from the open valve
- When steam is escaping steadily, set timer for ten minutes
- When timer goes off, close valve, and bring canner to 10 pounds of pressure
- Process quarts for 90 minutes, or pints for 75 minutes
- Remove from heat and let cool until pressure returns to zero
- At this point, you can remove jars carefully, avoiding drafts or sudden temperature changes that can cause extremely hot jars to break. If removing hot jars, be sure to also cover them with a towel once they’re out of the canner to further protect them until they cool
- After 24 hours, remove bands and clean jars well before storing in a cool place out of direct light. You may screw the bands back on after jars are cleaned if desired.
Get Your Garden Cheat Sheets!

Want to know exactly when, where, and how to plant your vegetables? Sign up to get our FREE companion planting guide, and garden planting cheat sheet printable.

My grandmother makes amazing marmalade
My grandmother makes amazing marmalade