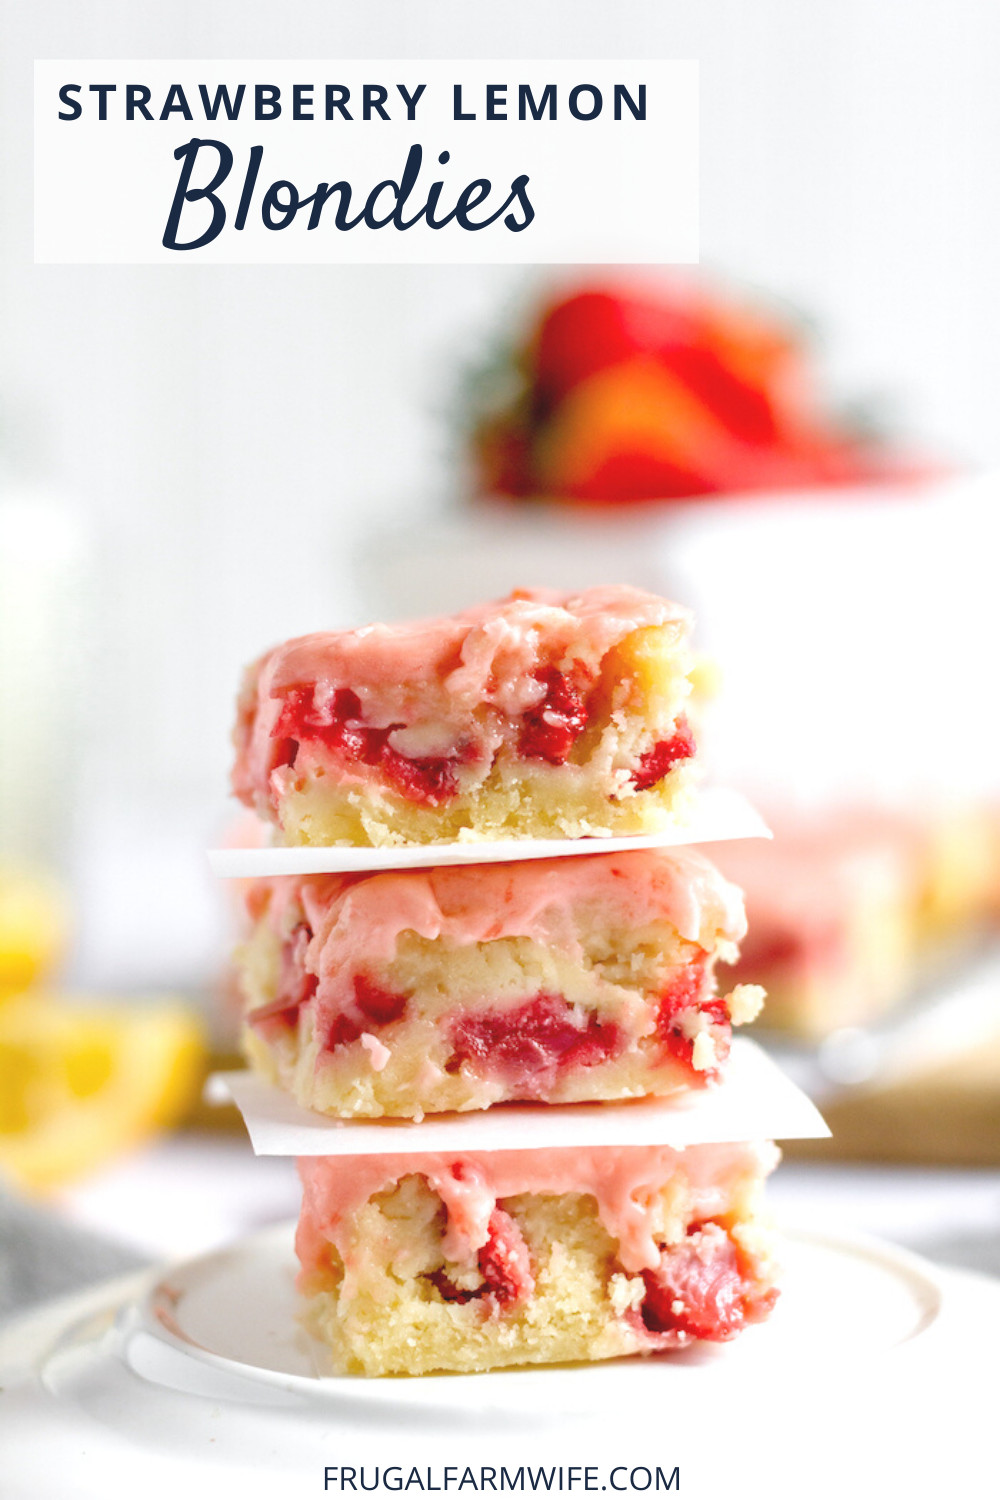
Strawberry Lemon Blondies
This bright and delicious strawberry lemon blondies recipe is perfect for spring picnics and indulgent weekend treats.
I love desserts throughout the seasons, and one of my favorite things is changing up the type of desserts we make from season to season.
So, for instance, we’ll probably have a lot of peach and cherry desserts soon when those start to ripen, but right now, strawberries are in season, so it’s time to load up on strawberries at the u-pick farms and farmer’s markets, and make some strawberry oatmeal bars for breakfast, put homemade strawberry vinaigrette on our salads, make some sugar-free strawberry jam for when we want something sweet but healthy, and of course, make strawberry lemon blondies.

I don’t know about you, but gluten-free strawberry shortcake is what I think of when I think about the quintessential spring dessert, and these blondies are a little bit like making that shortcake into an extra-indulgent one-pan treat.
You’ll know exactly what I mean when you make these!

Let’s go over a few notes:
Strawberry Lemon Blondies
- Do you have to make the fresh strawberry icing for these? No. But will you regret it if you don’t? Probably. It adds so much extra sweetness and tanginess!
- Do you have to use freshly squeezed lemon juice? No. Most recipes specify that you squeeze your own juice and not use bottled juice, and there is something to be said about freshly squeezed juice being the best quality. Admittedly, the quality of your ingredients has a big impact on the quality of your end product. However, I haven’t seen a big enough difference in this recipe to talk about. If you don’t want to squeeze juice, pull out that bottle and go!
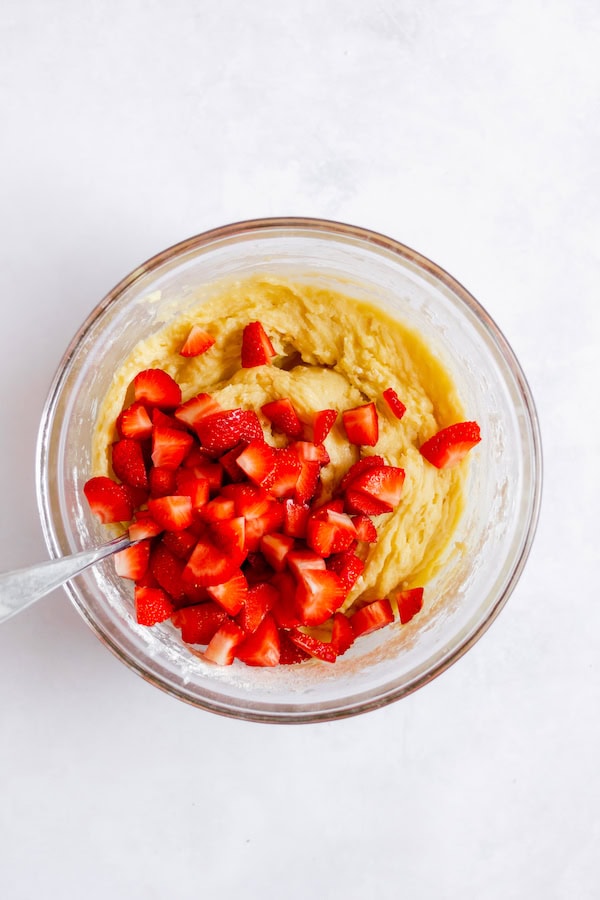
- How small should you dice your strawberries? I like to dice them into about half-inch chunks. This is big enough to get a nice juicy bite but small enough to be evenly distributed throughout the batter, and make sure every blondie gets a decent amount of strawberry no matter how you cut them.
- What kind of flour should you use? If you’re not gluten-free, all-purpose. If you are gluten-free, I recommend using a mix of superfine brown rice, sorghum, and cornstarch (in equal parts), plus adding 1 teaspoon of xanthan or guar gum.
The ingredients for this recipe are super simple! All you need is some butter, sugar, flour, baking soda, salt, lemon juice, and strawberries.

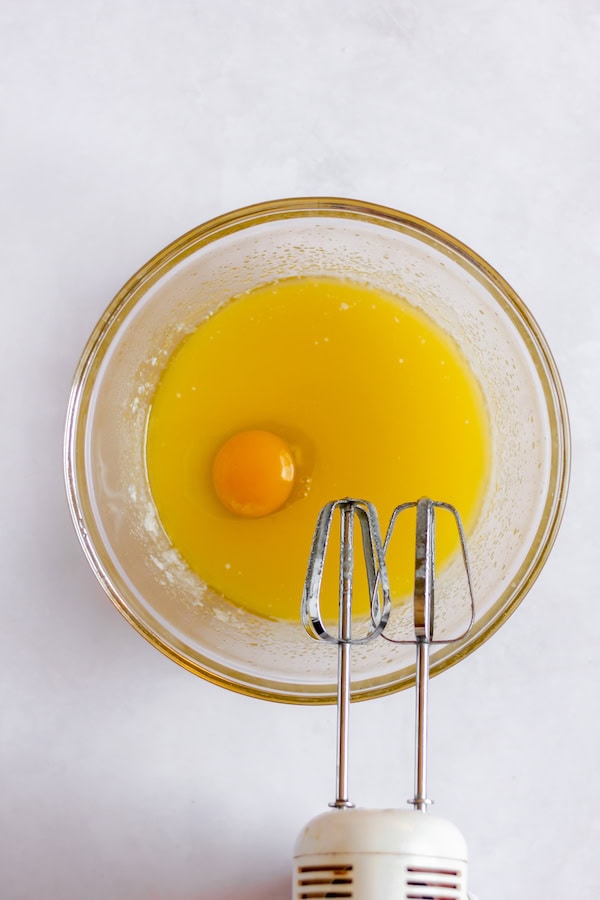
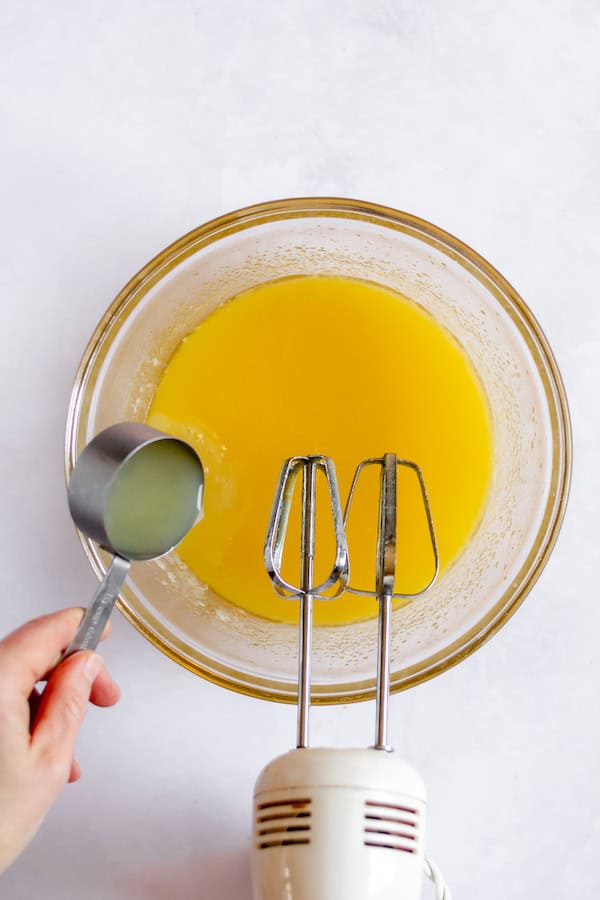
Once you have your ingredients together, you simply melt your butter, beat in the sugar, then add the egg and lemon juice.

After that’s all mixed well, combine your flour, baking soda, and salt, then fold it into the batter. Next, fold in the strawberries as well.

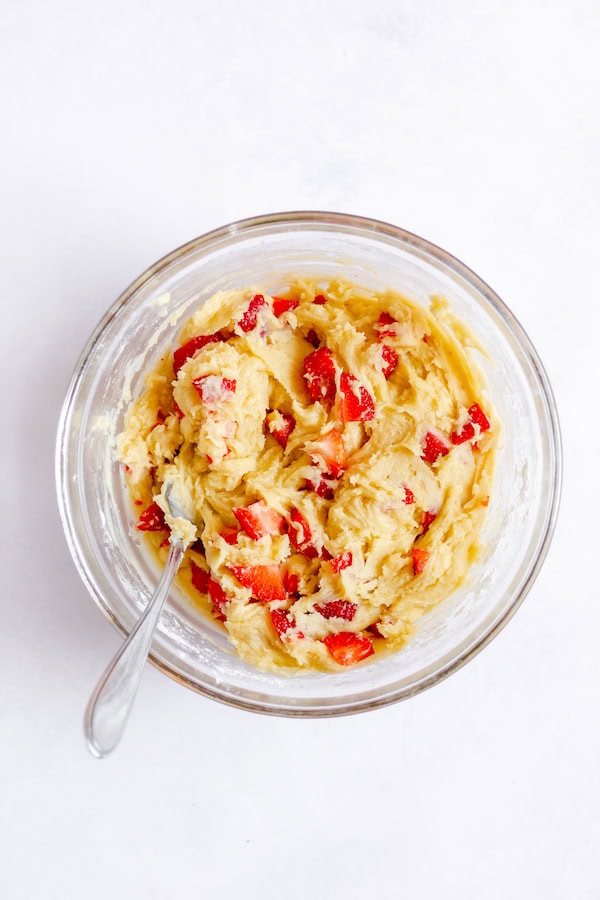
Once the batter is all mixed together, spread it into a greased pan, and bake at 350º for about 20 minutes (depending on your pan size). When they’re done baking, pull them out and let them cool before you slice and ice them.

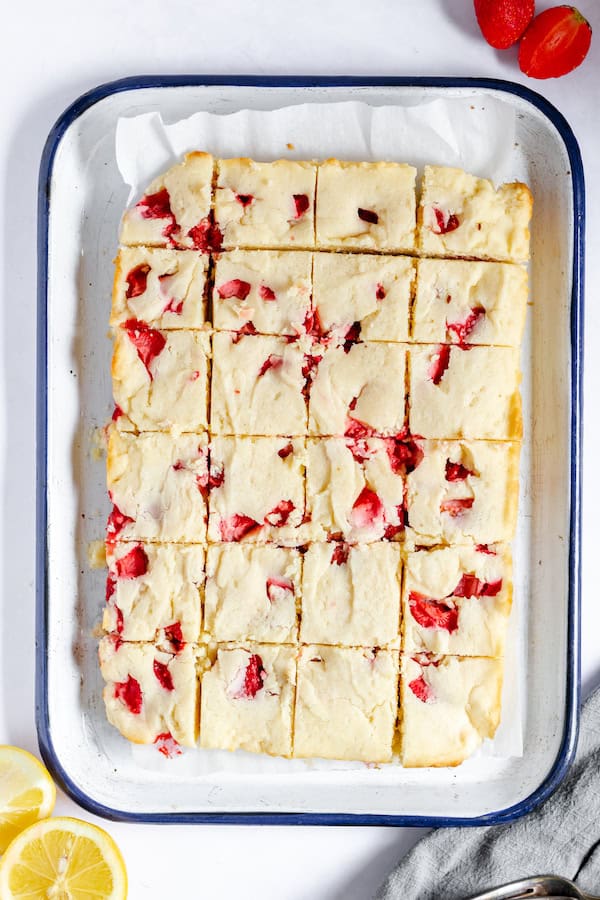
As you can see in the photos, I sliced this batch before I iced them. Honestly, it wasn’t the smartest move. I thought it would make the blondies more photogenic, but I was wrong. Don’t be like me.
But enough of that, let’s get to the actual recipe.
PrintStrawberry Lemon Blondies

Looking for a new take on the classic blondie? This strawberry lemon blondie recipe is the perfect take for a refreshing summer dessert.
- Prep Time: 20
- Cook Time: 25
- Total Time: 45
- Yield: 18–24 bars 1x
- Category: Dessert
- Method: oven
- Cuisine: American
Ingredients
- 1 cup butter, melted
- 3/4 cup granulated sugar
- 1 large egg
- 1/4 cup lemon juice
- 2 1/4 cups all purpose flour or high quality gluten-free flour mix
- 1/2 tsp baking powder
- 1/2 tsp salt
- 1 cup diced fresh strawberries
for the icing:
- 1 cup powdered sugar
- 2 strawberries
- 2 teaspoons lemon juice
Instructions
- Preheat oven to 350º
- Whisk together flour, baking powder, and salt, and set aside
- Melt butter, and beat in sugar for 1 minute
- Beat in egg, then lemon juice
- Add flour mixture and fold in until fully incorporated
- Fold in diced strawberries
- Grease a baking dish. For thicker blondies, use an 8×8 inch square, for thinner, use 8×11 or 9×13.
- Spread batter evenly in baking dish and place in center of oven
- For for 25 minutes for thinner blondies, and 30 minutes for thicker blondies, just until the edges start to turn golden
- Remove from oven and let cool
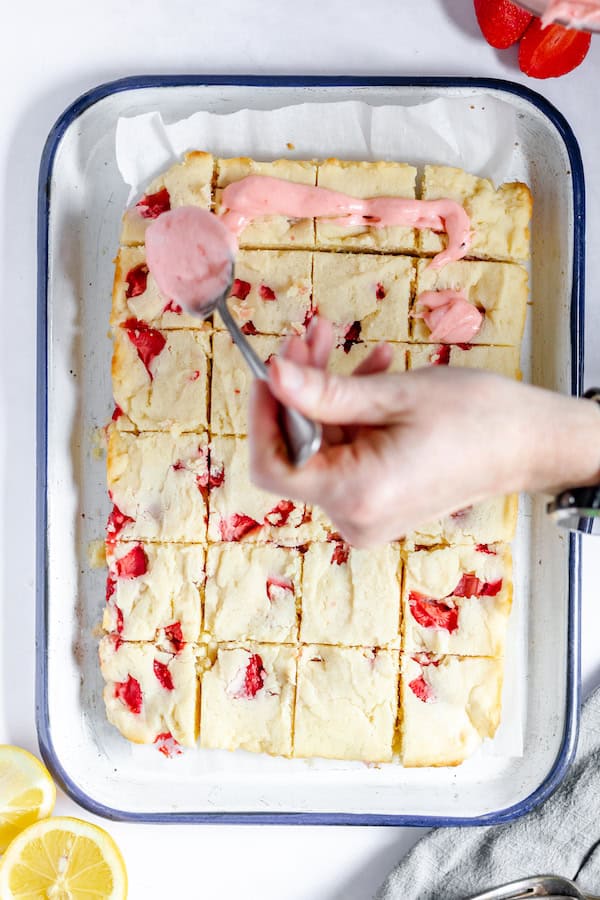
- While blondies are cooling, get the icing ingredients together
- Destem the strawberries and dice or puree them. You can use a potato masher to kind of muddle the strawberries so you have some chunks, but also some juice to flavor and color your icing
- Add remaining icing ingredients, and stir until incorporated
- If icing is too thin, add more powdered sugar. Likewise, if it’s too thick, add lemon juice or water
- Remove cooled blondies from pan and top with icing
- Enjoy!


This taste is so sweet, it makes me feel happier than ever.
Nice
It taste good but the icing came out nothing like the pic. I added so much more powder sugar than recipe called for and still didn’t come out like icing.
This recipe does not translate well to gluten free. I used King Arthur measure for measure gf flour and the blondies were so crumbly and just tasted like flour. I couldn’t taste the lemon at all. Also had to doctor the icing which had a strong cornstarch flavor.