Roasted Garlic and Red Pepper Hummus
I love making hummus. It’s easy, and it’s a healthy snack that provides a lot of protein, fiber, and good fats.
Even my 5-year-old loves carrot sticks dipped in hummus! And that’s how we usually eat our hummus around here: as a veggie dip.
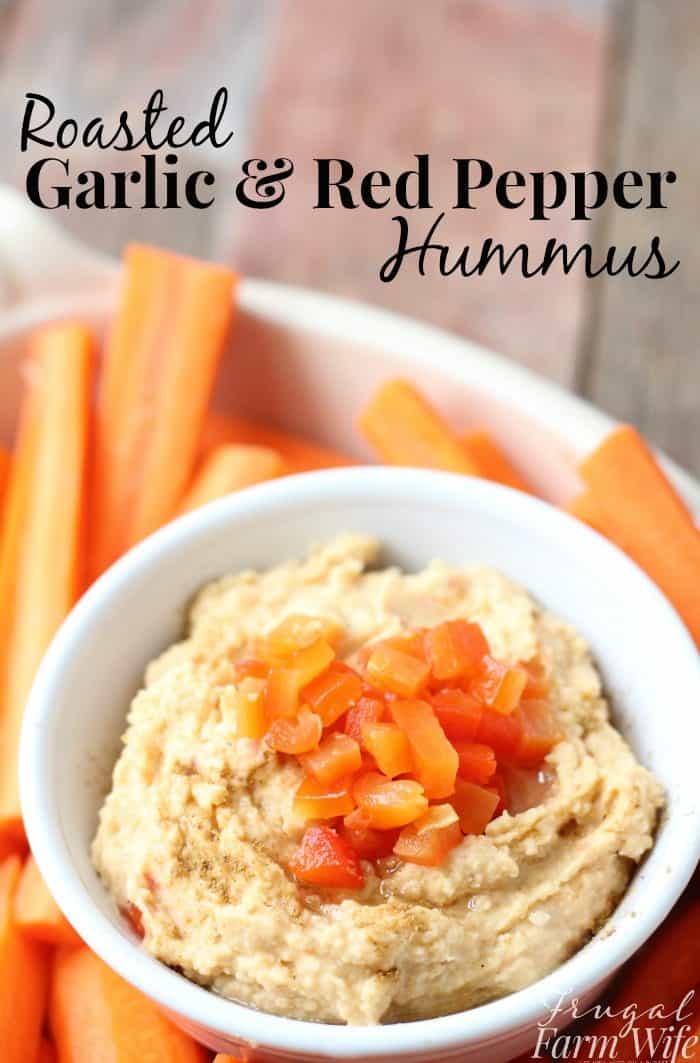
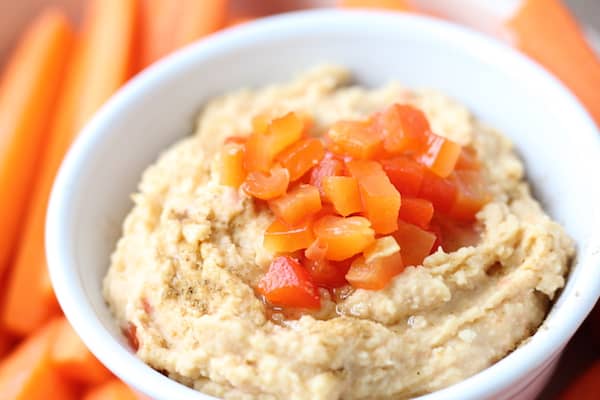
Of course, you can never go wrong with basic homemade hummus, but lately, I’ve been dressing it up with roasted garlic and red pepper, and oh my goodness, just the aroma of those roasting vegetables in the oven is enough to make you salivate.
Roasting the garlic, rather than adding it raw, mellows and deepens the flavor, and the roasted red pepper lends a smokey sweetness to your dip. It sounds fancy, but it’s really as easy as putting your peppers and garlic in the oven for 6-8 minutes and then pulling off the thin, charred outer layer. So much flavor for so little effort!
Personally, I live a lot of garlic in my hummus. LOTS. I’m talking about 5+ cloves per batch. But if you’re not such a garlic lover, I recommend sticking with three cloves.
I also err on the low side with lemon juice. It’s just a personal preference. If you like tanginess, feel free to add the full four tablespoons!
Admittedly, I like pretty much any bean dip, but homemade hummus, especially the roasted garlic and red pepper variety is my favorite- homemade refried beans come in second.
Now, I know that pita chips and pretzel crisps are popular dippers for hummus, but here are some healthy alternatives that are just as delicious but add value to your snack in the form of vitamins, minerals, and dietary fiber, and not just the empty calories of those previously mentioned.
- carrot sticks
- celery sticks
- Cucumber slices
- green or yellow bell pepper strips
- cherry or grape tomatoes
- broccoli florets
- cauliflower
- snow peas
- spinach leaves (roll up a small bit of hummus in each leaf)
- Pretty much any other vegetable you can think of
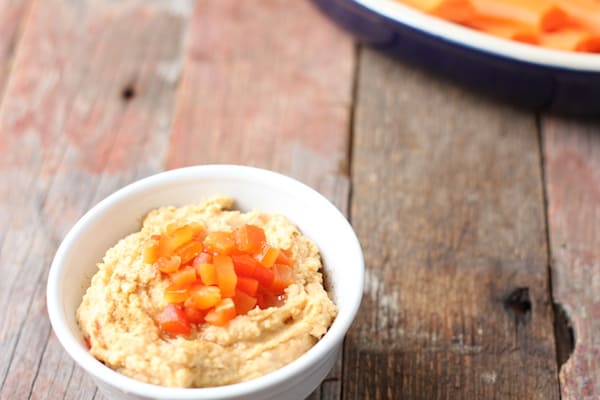
Roasted Garlic and Red Pepper Hummus
If you love hummus, and are looking to try a new variety, this garlic and red pepper is SO delicious.
Ingredients
- 1 large red bell pepper
- 3–5 cloves garlic
- 1 can chickpeas
- 2–4 tablespoons lemon juice
- 1/4 cup tahini
- 3 Tablespoons extra virgin olive oil
- 1 teaspoon ground cumin
- pinch of cayenne powder
- sat to taste
Instructions
- Cut bell pepper in half and place, cut side down on a baking sheet
- Place unpeeled cloves of garlic on baking sheet as well
- move oven rack to 5-6 inches below broiler
- Place baking sheet in broiler and broil for 6-8 minutes. Keep and eye on it! Things happen very quickly in a broiler
- While your veggies are broiling, pulse chickpeas, lemon juice, tahini, oil, cumin and cayenne in food processor.
- After your veggies are done, remove them from the broiler, and peel. This should be really easy. The browned or blackened skin of your bell pepper should pull off like a thin, plastic sheet. The garlic should peel pretty normally, revealing a soft, slightly brown clove.
- Roughly chop veggies, and add to food processor
- Add more olive oil, or water if needed to get the correct consistency on your hummus to blend (too stiff hummus will probably result in you needing to scrape down the sides of your processor frequently)
- Continue processing hummus until smooth.
- If your food processor is like mine (wimpy), your red pepper will probably not blend in smoothly, leaving you with tiny pieces of red distributed through your hummus. It’s actually kind of pretty!
- Scrape hummus out of processor and serve as desired.
- Enjoy!
Get Your Garden Cheat Sheets!

Want to know exactly when, where, and how to plant your vegetables? Sign up to get our FREE companion planting guide, and garden planting cheat sheet printable.

