Pumpkin Jam
Do you have some pumpkin puree leftover from Thanksgiving? Try this pumpkin jam recipe!
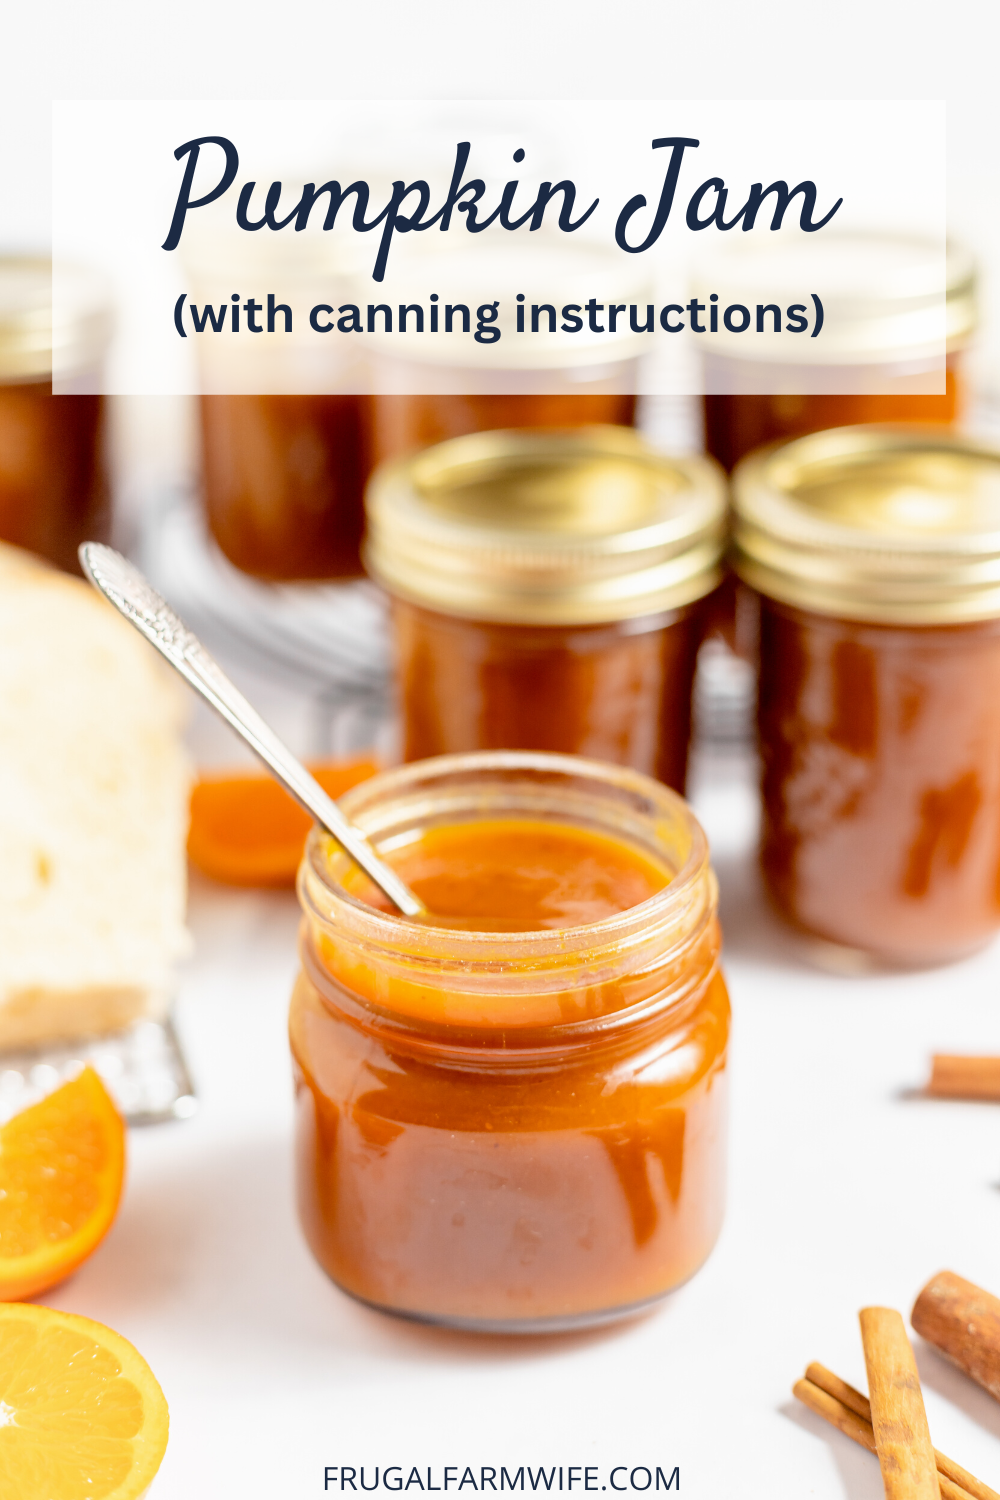
It’s very similar to Amish pumpkin butter, with canning instructions as well!
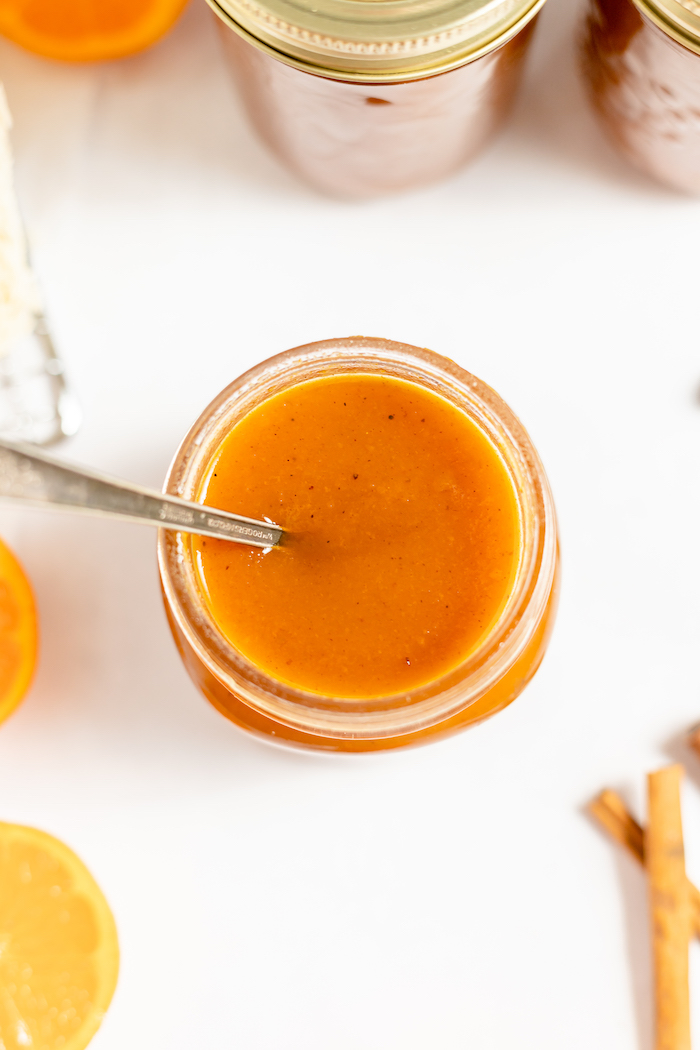
This pumpkin jam is warm and comforting thanks to the cinnamon and spices, with a bit of bright citrus flavor from the orange juice.
If you’re familiar with jam-making, this is a very simple recipe. If not, don’t worry! We break it down and make it simple.
This recipe is actually easier than most jam recipes because you’re just using pumpkin puree from a can, whereas with, say, cinnamon-pear jam, you put a lot of time into peeling, coring, and slicing (totally worth it, but still!).
What makes this jam?
Jam is made using chopped or crushed fruit mixed with sugar and heated until it reaches a “gelling point”. The gel is achieved through either the fruit’s natural pectin or by adding pectin.
Some fruits, like apples, are higher in pectin and can actually make jam without adding any, but others, such as peach, or in this case, pumpkin, are low in pectin, and in that case, you simply add powdered or liquid pectin to the mix.
So, the short answer is that fruit (pumpkin) mixed with sugar and pectin and heated is what makes this a jam.
Is it safe to can?
That depends on who you ask. I’ve been bashed pretty hard on the internet for canning pumpkin because it’s “not safe”. You know how the internet is.
But here’s what the National Center for Home Food Preservation actually says:
“Only pressure canning methods are recommended for canning cubed pumpkin. We have no properly researched directions to recommend for canning mashed or pureed pumpkin or winter squash, or pumpkin butter. To be safe, all low acid foods, including pumpkin, must be canned using tested pressure canning processes.”
And what about preserves such as pumpkin jam?
“Gelled preserves rely on the natural acidity present in most fruits for safe food preservation. Most fruits have natural acids so resulting jams or jellies can be safely canned in a boiling water bath process. Pumpkin, however, is a low acid vegetable and cannot be safely canned in the boiling water bath process. A jam or sweetened preserve would have to have enough sugar and/or added acid to be treated safely without concerns about botulism. A certain acidity level is also required to cause the pectin molecule to form a gel structure. The USDA and Georgia Cooperative Extension currently do not have any tested recipes to recommend for safely canning pumpkin preserves (jams, jellies, conserves, or pumpkin butter) and storing them at room temperature. These pumpkin products must be stored in the refrigerator or freezer and treated the same as fresh pumpkin.”
So for this recipe, we do two things:
- Add orange juice and sugar to raise the acidity level
- Pressure can the jam instead of water bath can it as we would most jams.
Still, as you read above, the USDA currently doesn’t have any tested recipes to recommend. So…
What if I don’t feel comfortable canning pumpkin jam?
Then I would recommend freezing any jam you won’t be using up within two weeks.
Simply ladle your jam into freezer-safe containers instead of canning jars, and move the refrigerator to thaw whenever you’re ready to use it.
Personally, I don’t have a problem canning pumpkin. It’s important to use your own logic and knowledge of food safety, and for me at least, equally as important not to rely on official organizations to give me permission to do something. While the USDA may not have any tested recipes to recommend, there’s no shortage of canned pumpkin butter/jam available in boutique stores, so it seems clear that they approved it for somebody somewhere.
For what it’s worth, canning pumpkin is something my family has done safely for my entire life, and many other families with Amish roots have done it for generations.
We pressure can it and are smart about making sure it’s not carrying harmful bacteria before we use it.
With that said, here’s the recipe with photos to show you the basics. Or scroll down to the printable recipe card and video tutorial.
Homemade Pumpkin Jam
First, gather your ingredients. It’s important to have everything together before you start so that you don’t end up running around trying to measure sugar while keeping your pumpkin puree from burning, etc.
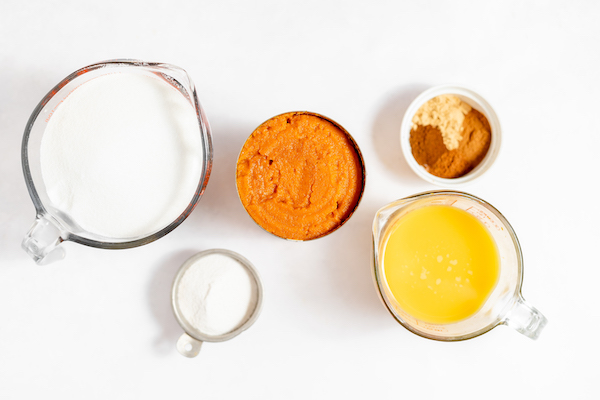
Here we have:
- 1 29 oz. can pumpkin puree
- 1 packet of Sure Gel
- 1 1/2 cups orange juice
- 1 teaspoon ground ginger
- 1 1/2 teaspoons cinnamon
- 1/2 teaspoon nutmeg
- 1/2 teaspoon cloves
- 4 1/2 cups granulated sugar
Combine the pumpkin, sure gel, orange juice, and spices together in a large pot, and bring to a boil.
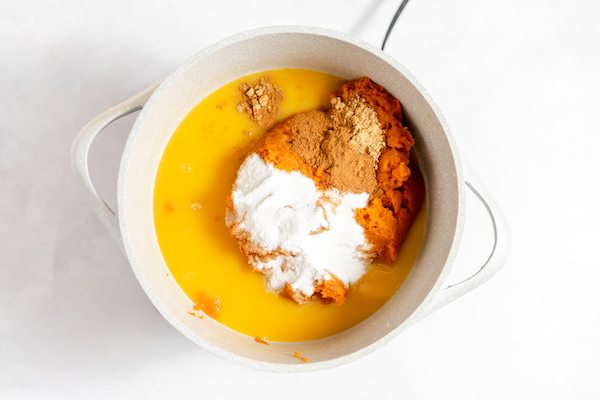
It will be thick, so it won’t reach a true, rolling boil, but once it’s bubbling, stir in the sugar and stir until it dissolves.
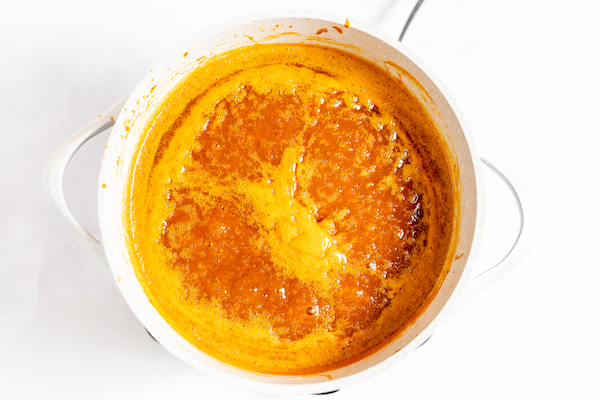
Bring to a rolling boil, that can’t be stirred down this time, and continue boiling for 90 seconds.
Remove from heat and ladle into sterilized jars.
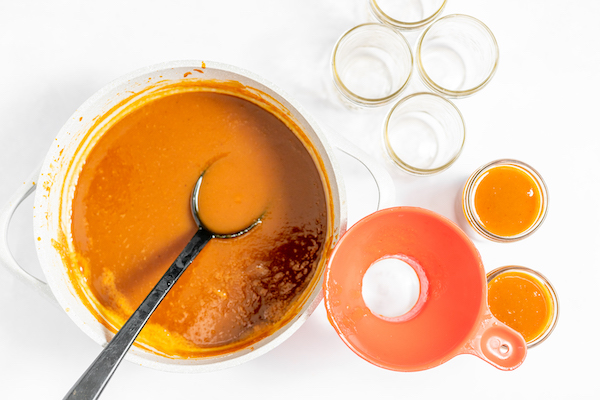
Wipe the rims of jars with a clean cloth to remove any debris, and fit them with sterilized lids and bands.
Place jars into a prepared pressure canner (see how to use a pressure canner), and vent steam for 10 minutes.
Close the vent and heat to 10 pounds of pressure for 15 minutes for half pints and 20 minutes for pints.
Remove from heat and let pressure return to zero naturally before removing the lid.
After that, you can continue letting jars cool in the canner or carefully remove jars and place them out of the way. I recommend covering them with a towel to protect them from drafts which can cause extremely hot jars to crack and break.
Once cool, check for seal, and after 24 hours, bands may be removed and jars stored.
Pumpkin Jam
Delicious pumpkin jam is a great way to use up your spare canned pumpkin year-round
- Prep Time: 15 minutes
- Cook Time: 45 minutes
- Total Time: 60 minutes (minus 24 hours cool time)
- Category: canning
- Method: Stovetop
- Cuisine: American
Ingredients
- 1 29 oz. can pumpkin puree
- 1 packet of Sure Gel
- 1 1/2 cups orange juice
- 1 teaspoon ground ginger
- 1 1/2 teaspoons cinnamon
- 1/2 teaspoon nutmeg
- 1/2 teaspoon cloves
- 4 1/2 cups granulated sugar
Instructions
- Stir pumpkin, sure gel, orange juice, and spices together in a large pot, and bring to a boil
- Once it has reached a rolling boil that can’t be stirred down, stir in the sugar, and stir until it dissolves
- Bring back to a rolling boil, that can’t be stirred down, and continue boiling for 90 seconds
- Remove from heat and ladle into sterilized jars
- Wipe rims of jars with a clean cloth to remove any debris, and fit with sterilized lids and bands.
- Place jars into a prepared pressure canner (see how to use a pressure canner), and vent steam for 10 minutes.
- Close vent and heat to 10 pounds of pressure for 15 minutes for half pints, and 20 minutes for pints.
- Remove from heat and let pressure return to zero naturally before removing lid.
- After that, you can continue letting jars cool in the canner, or carefully remove jars and place them out of the way. I recommend covering them with a towel to protect from drafts which can cause extremely hot jars to crack and break.
- Once cool, check for seal, and after 24 hours, bands may be removed and jars stored.
Get Your Garden Cheat Sheets!

Want to know exactly when, where, and how to plant your vegetables? Sign up to get our FREE companion planting guide, and garden planting cheat sheet printable.

For what it’s worth, my family has been securely canning pumpkin for my whole life, as have many other Amish families for decades.
Tasty jam
I am a jam fan. Pumpkin jam is a new kind of jam for me. Thanks for sharing. I will try following your recipe and come back here to comment.
★★★★★
You should try this recipe!
★★★★★
I appreciate the efforts you people put in to share blogs on such kind of topics, it was indeed helpful. Keep Posting!
★★★★
grea t
★★★★★
Thanks for providing you with a recipe for pumpkin jam.
The information you have posted is very useful. The sites you have referred was good. Thanks for sharing.
★★★★★
iate the efforts you people put in to share blogs on such kind of topics, it was indeed helpful. Keep Pos
h, my family has been securely canning pumpkin for my whole life, as have many other Amish families
★★★★★
my family has been securely
★★★★★
In this activity, there some educative games are gave
This turned out great! I used my canner and it turned out great!
★★★★★
How many jars will this recipe make? What is the shelf life?
wow nice post
nice post
★★★★★
Very good article, thank you
We appreciate the articles you share. Thank you very much
★★★★★
We appreciate the articles. Thank you
Thank you very much for the information you shared, that’s all I’m looking for. Today is a beautiful day, do you want to participate in the game? This will help you be more comfortable, I feel great, please visit my website, to find the services you need.
Jasa Scan Dokumen Murah
Print Buku Murah
Fotocopy Warna Murah dan Cepat
Cetak Buku Novel Book Paper
Cetak Amplop Putih Folio Murah
Jasa Fotocopy dan Jilid Buku Murah
Print Warna Online Murah
hub : hutagalungprinting.com
Thank you very useful article
Thanks for all your efforts that you have put in this. very interesting information.
This is a great inspiring article. I am pretty much pleased with your good work. You put really very helpful information.
★★★★★
good informations
★★★★★