DIY Rustic Lace Ornament Tutorial
Hi all! My sister Johanna, has been churning out homemade Christmas decorations like crazy, and I asked her to share a few with us here on the blog. She is such a creative! After you’ve read this tutorial, be sure to stop by her Etsy shop and look at all of her beautiful handmade creations!

This ornament is one of my personal favorites because it looks so classy yet rustic at the same time. There’s going to be a lot of these on my tree this year, and I think they’ll look amazing next to the painted holly ornaments and snow-covered pinecones!
The cool thing about these is that you can use different laces for each one you make, so there’s a little variety. You could even crochet or knit your own lace if you want. You can also use whatever colors you want, though I chose to go with whites for the tutorial.
Here’s how you do it:
DIY Rustic Lace Ornament Tutorial
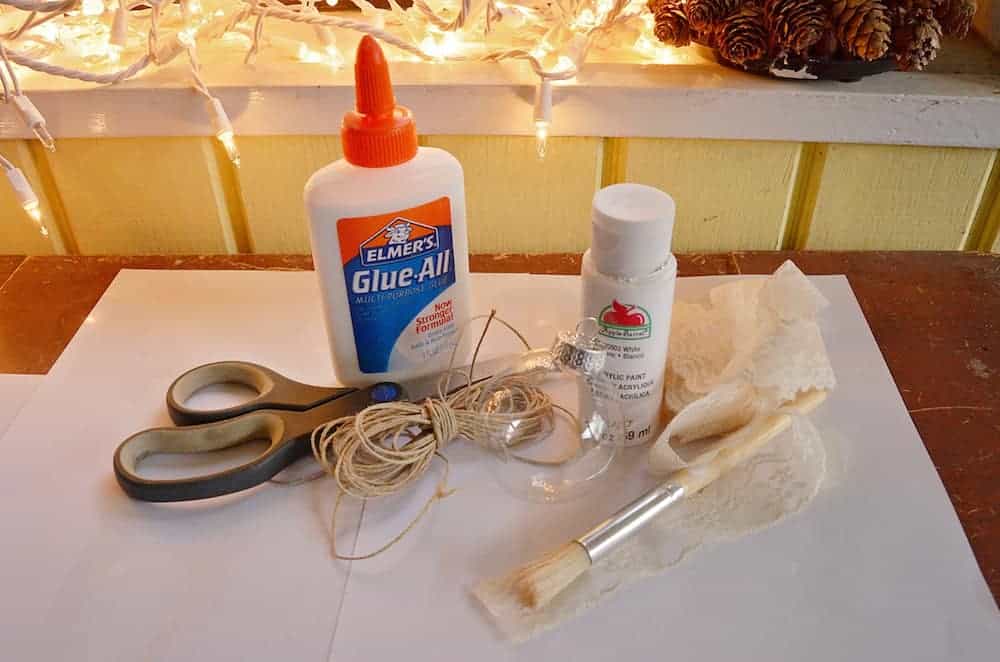
You Will Need:
- A clear plastic ball ornament (These can be purchased at Hobby Lobby, Michaels, etc.)
- Acrylic paint of your choosing (I used white)
- A stiff bristled paintbrush
- Small length of lace of your choosing (I used off-white)
- Elmer’s Glue
- Scissors
- Twine or yarn for hanging
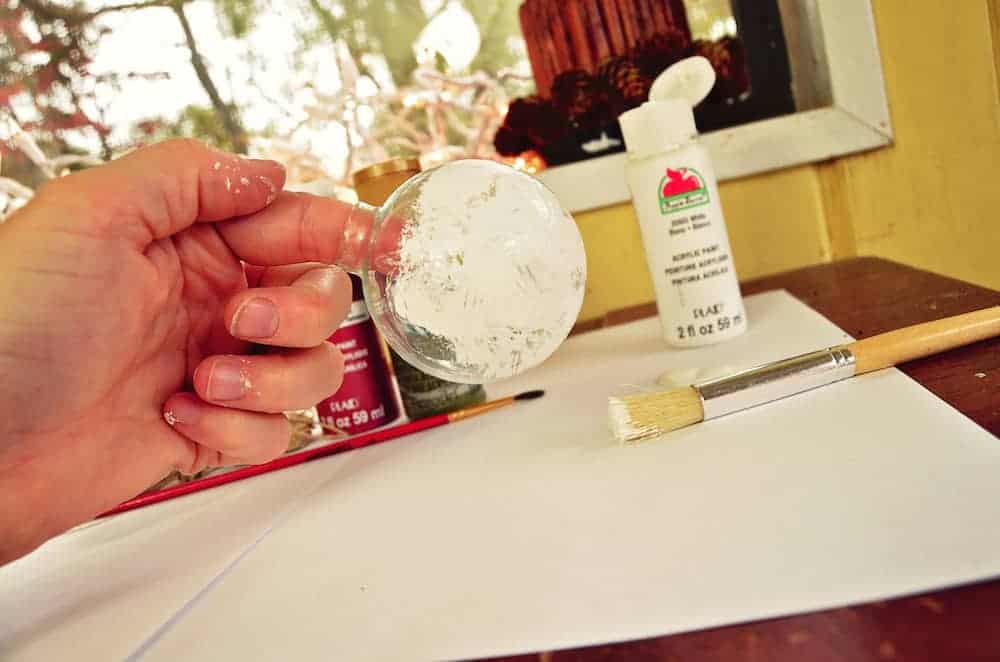
Cover your workspace with plastic or paper. Take the top off of the ornament, so you can stick your finger into the top while you’re painting it.
Pour some white paint onto your surface, and using the stiff bristled brush, dip it in the paint, and begin painting the ball by using rapid up and down motions so that only the tips of the bristles are coming in contact with the plastic ball (you don’t really want to paint in strokes on this one, this is what makes it look rustic). You should get a roughed-up look with this technique.
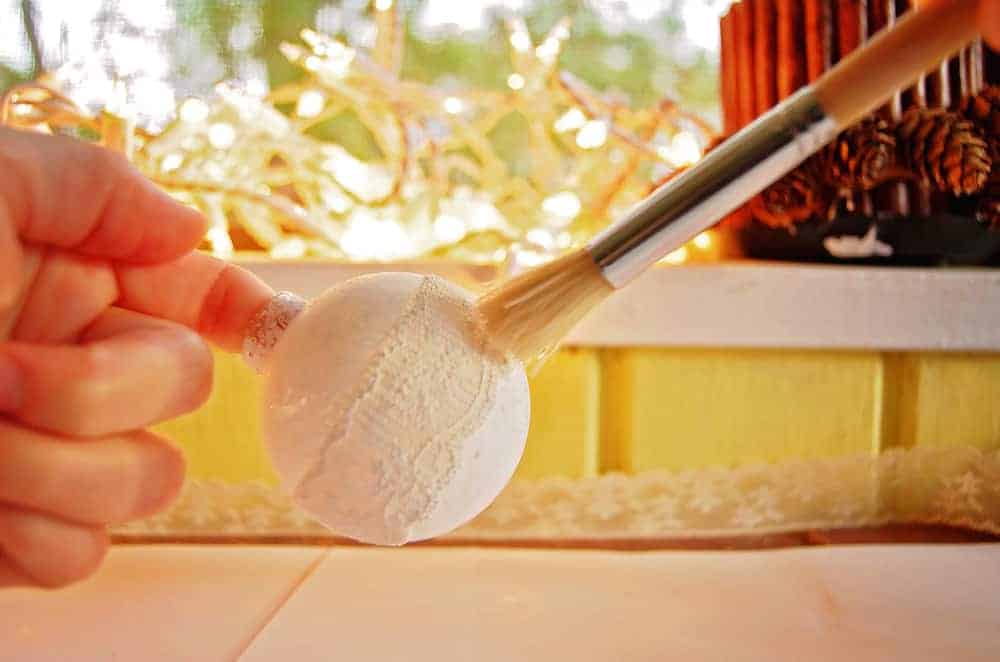
Cut a length of lace that fits around the ball plus about ¼ an inch for overlapping. Place around the ball tightly, and put some Elmer’s glue on one end, then bring the other end over it. Secure with a straight pin and allow to dry for about an hour.

Make sure the glue is dry, and then take out the pin. Pour some more paint on your surface, and repeat the whole painting process again, this time going over the lace too. Allow to dry for another hour or so.
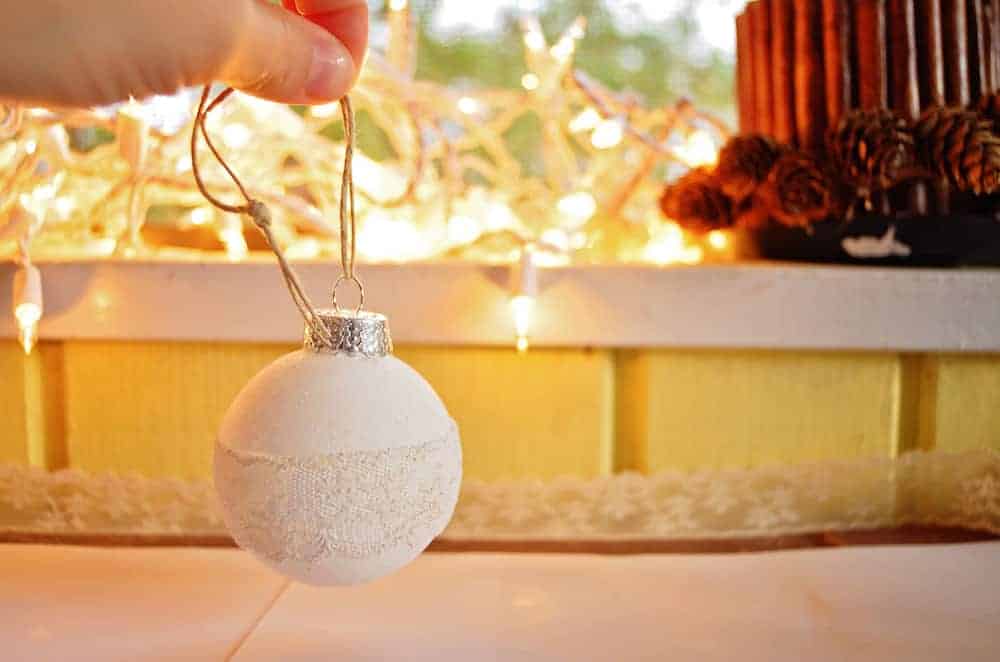
Once dry, replace the top of the ornament and string with twine or yarn for hanging. Viola, you’re done!


Elise…these are beautiful and look real easy to make. I may have to try my hand at one. Thank you for sharing at Monday’s Musings. Have a great week.
Love these ornaments! Thank you for taking the time to teach us how to do this! Gorgeous, a must try!